1-587--200-3764
admin@edmontonhardwoodfloorrefinishing.ca
Dustless Hardwood Floor Refinishing


Contact Us
We specialize in dustless hardwood floor refinishing. However, we also take on installation and removal projects as part of our services. Refinishing hardwood floors is an excellent way to save money on freshening up your floors. Replacing hardwoods can cost 2 to 3 times more than refinishing them.
Refinishing floors can make them look like they are brand new. We can turn a floor covered with scratches and gouges and bring it back to life. Depending on the floor’s size and condition you need redoing, the cost, time required to complete the job, and the extent of work required will vary.
How We Refinish Hardwood Floors
There are some instances where a full refinishing job may not be necessary. If your floor has minor scratches on the top layer of polyurethane, then you may need a screen and recoat. Screening and recoating the floor can save you a lot of money, time, and labor if done at the appropriate time.
However, if your hardwoods have epic gashes and robust scrapes in the wood, then a full refinishing job will be necessary to revive its look.
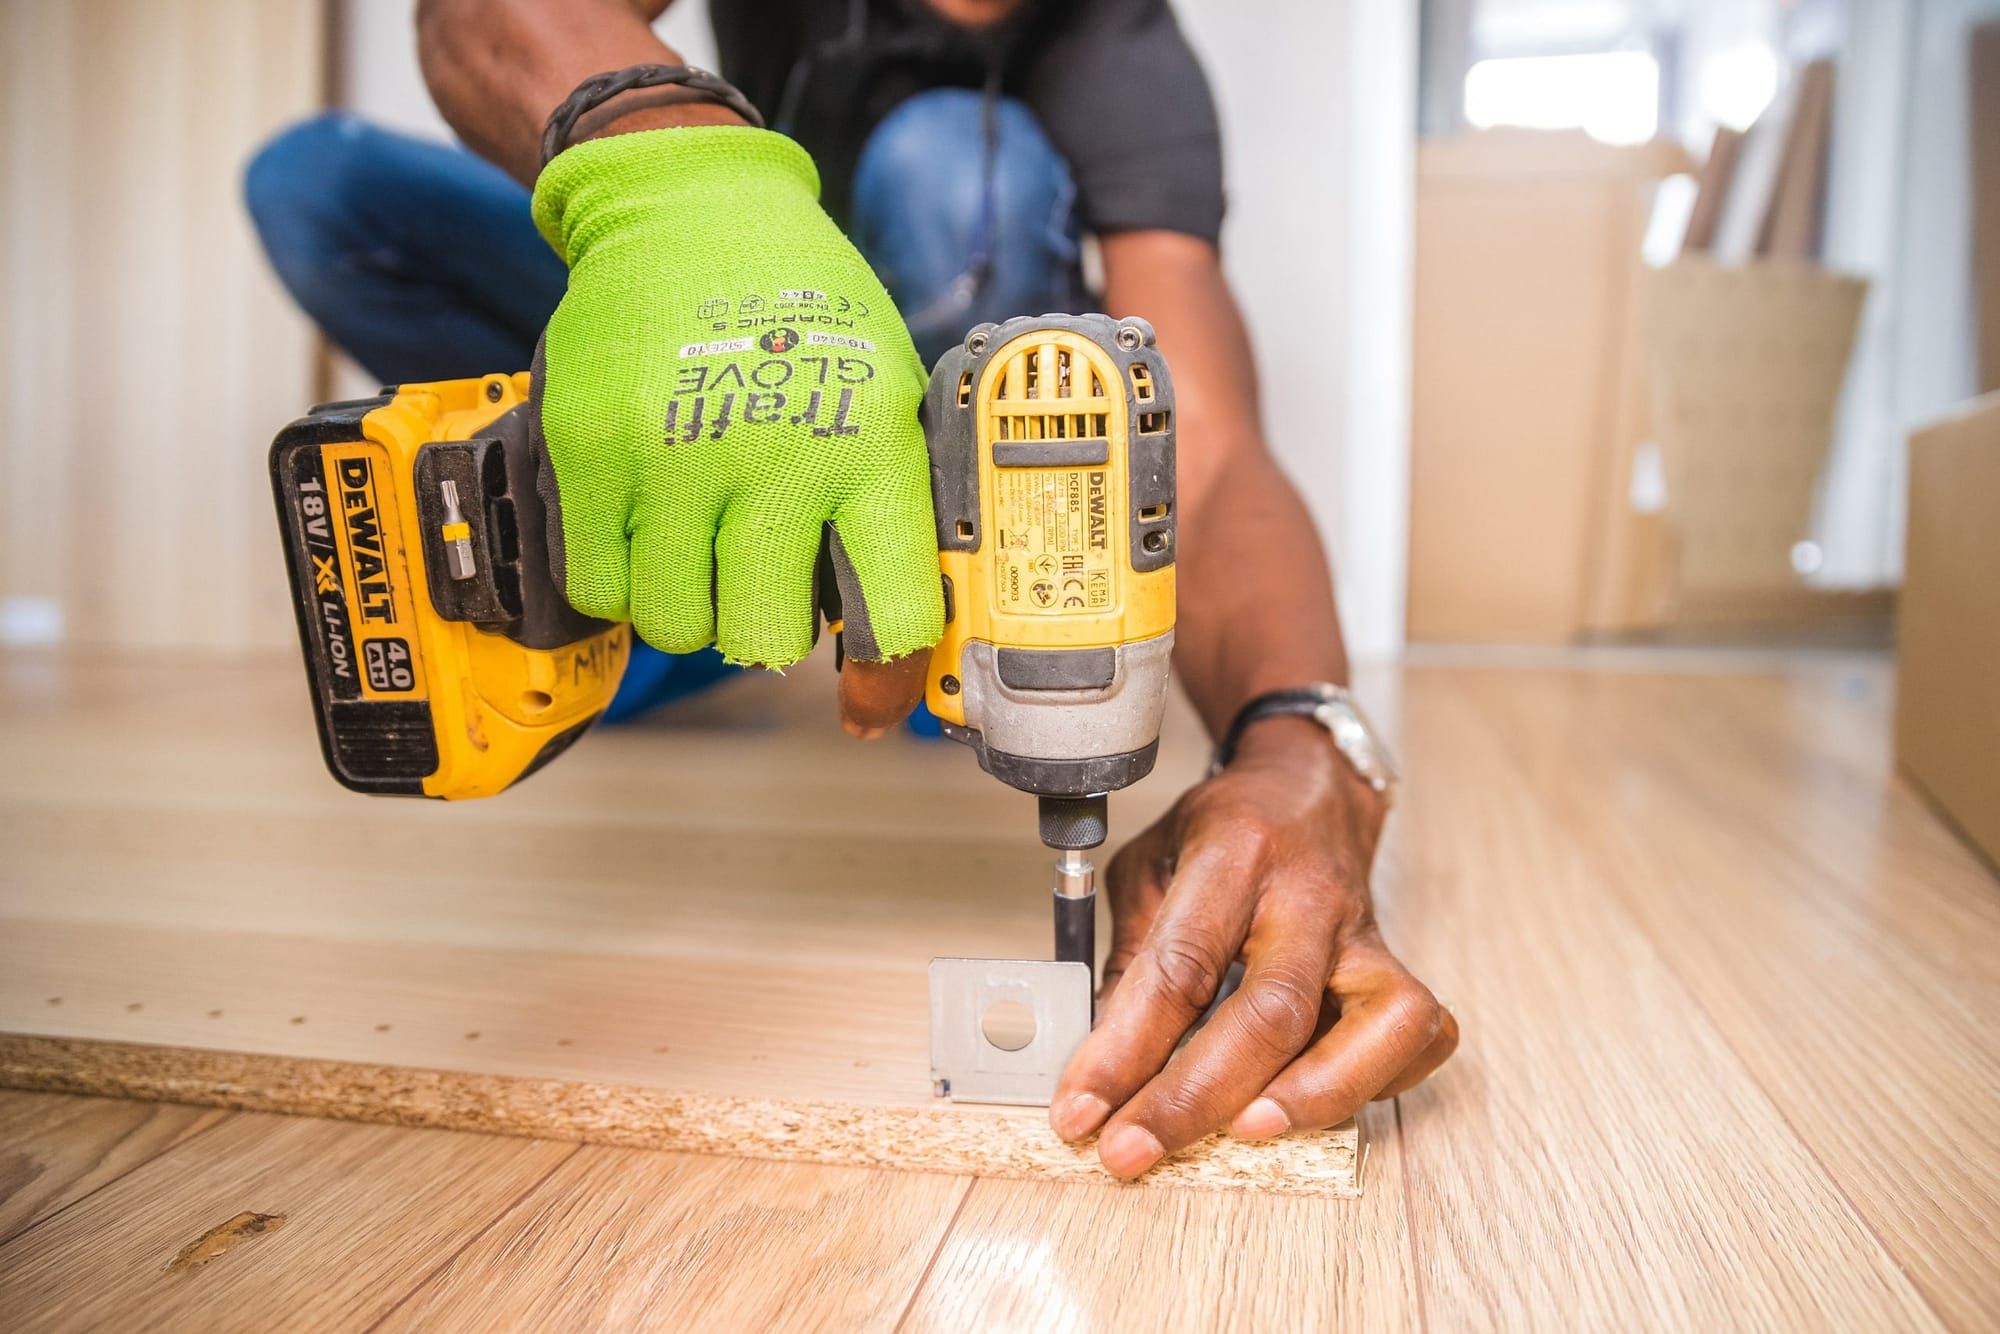
Hardwood Floor Sanding
Refinishing hardwoods involves sanding the entire floor down to the bare wood with different sandpaper grit tiers, then beginning the recoating process. This can be a messy job and in most cases, we bring our dust-catching equipment to keep everything neat and tidy.
We use a drum sander for the floor’s main sections to sand through to make the floor uniform across the surface area. We must sand the entire floor to ensure it is level and there are no uneven sections. It is also necessary to file through the floor to the scratches’ base level so the whole floor can look brand new, smooth, and flush.
We then use an edging sander to bring the room’s edges to the same level as the rest of the floor. The drum sander is too larger to do the finesse work of the edger.
Low grit sandpaper is used at the beginning stages to dig into the hardwood. As the floor begins to get to the necessary base level, we use higher grit sandpaper to make the floor as smooth as possible.
All the while we are vacuuming and sending the dust directly from the room where we are working, into the truck so that we cut down on as much of the mess as possible.
Room Preparation
With the floor sanded and smoothed out perfectly, it is vital to prep the room before going on to the recoating phase. If there is any dust or dirt on the floor, it will stick up when applying the finishing coat.
The best way to ensure an adequately prepped room is to use a shop vac to pull all the dust out. It may take a few vacuum sessions to get all the dust out as any movement will cause the dust to rise.
It is absolutely crucial to remove any dust from the room and so the floor has no nicks or potential rough surfaces when applying the finishing coat.
FOr any remaining dust in the room, we use a dust-catching cloth with wax to get all of the dust out of the floor’s cracks.
Once the floor is sanded down sufficiently, smoothed out perfectly across the surface area, and thoroughly cleaned and dusted, we can begin the recoating process.
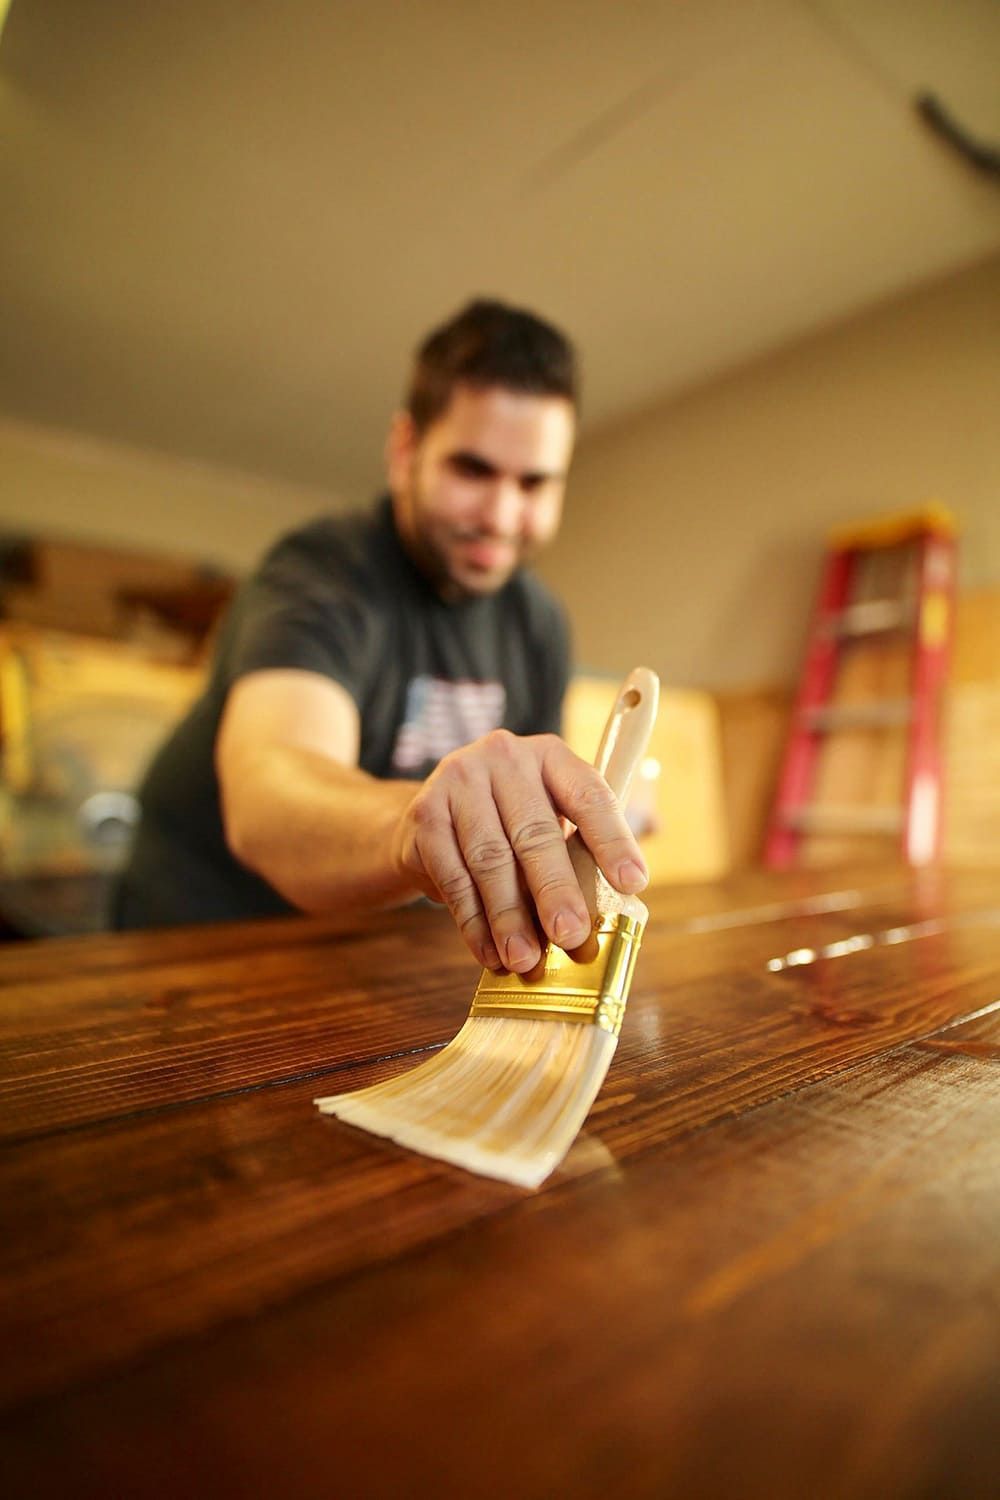
Photo Credit: Bidvine
Hardwood Floor Recoating
Once we sand the floor adequately, we can apply the stain and finishing touches to the wood. Staining will only be necessary if you want to modify the color of your floors. Most hardwoods have a naturally beautiful look to them, and stain is not required. However, if you want to deepen the color or change it completely, staining may be an excellent way to go.
Whether or not you decide to stain, the finish is what will give your floors that final brand new look you’re after. The most common types of finish are polyurethane, varnish, or a penetrating sealer.
Each of the three types of sealers has advantages and disadvantages. Here are some of the pros and cons of each:
Polyurethane:
- Very durable
- Easy to work with
- Plenty of sheen options
- Suitable for high traffic areas
- Comes in oil and water-based
- More difficult to spot repair
- May darken the wood or adjust the color
Varnish:
- Variety of lusters
- Easy to work with
- Easy to spot repair
- Durable and suitable for high traffic areas
- Darkens with age
- Dries relatively quickly
Penetrating Sealer:
- Offers deep protection of wood
- Natural-looking finish
- Less durable than varnish and poly
- Easiest to spot repair
- Brings out the grains of the wood
It is vital to pick a finish that will be appropriate for your situation. Floors with high traffic should use varnish or polyurethane because they are the most durable. But, if you want a more natural look and bring out the wood’s look, then a penetrating sealer will be the best way to go, especially since you can repair it fairly quickly.
Finishing The Floor
To finish the floor, we ensure that all of the sealer, varnish, or poly is spread entirely even across the wood. When we’ve achieved a uniform look across the entire surface area, we can apply a wax finish or a protecting coat to give the wood eve more strength.
The final, finishing coat is usually another layer of whichever sealer we are using throughout the process. We always recommend waiting at least 24-hours after applying the finishing coat before moving any furniture into the room.
Important Hardwood Floor Refinishing Considerations
It is essential to note the condition of your floors before beginning any refinishing project. As previously stated, your hardwoods may only need a screen and recoat. If that’s the case, you’ll save the money on the labor necessary to sand the floors down to a smooth surface.
If they have deep gouges and gashes, then set aside some time t have the floors refinished adequately. It may take a few days or a week to go through the entire process of reviving your floors. However, doing so will save you tons of money and time in the future.
Once we finish your floors, they will look fantastic for at least a few years, depending on the type of lifestyle they live. It is always useful to consider recoating the floors every 3-5 years. Doing so makes a massive impact on the lifespan and strength of the floors.
Even though your floors may not look like they need any work, preemptively protecting them can save you the money of a full refinish.
How Dustless Hardwood Floor Refinishing Works
In order to cut down on unwanted mess during a refinishing project, we bring our dustless hardwood floor refinishing equipment to ship all the mess directly out of your home and into our trucks. This drastically cuts down on the amount of mess that is created from a refinishing project.
Essentially, as we are sanding the floor, we vacuum the dust and it goes directly through a long tube to our truck where we capture all of the dust. Instead of having it stick around in the room we are refinishing. This is the most efficient way to keep everything clean, while allowing us to focus on refinishing your hardwood floors, without the mess.
Dustless floor refinishing means that we need to spend much less time cleaning up after a project. Also, you won’t be finding dust in every nook and cranny afterward. Whenever we are unable to use our dustless equipment, we still do the best job we can at sealing everything off and making sure that sawdust doesn’t get into the rest of the house.
We know that refinishing your old hardwoods is an investment in time as well as money. We take every precaution to make sure your mind is at ease and you can simply look forward to the beautiful finish that your floors are going to have all over again.